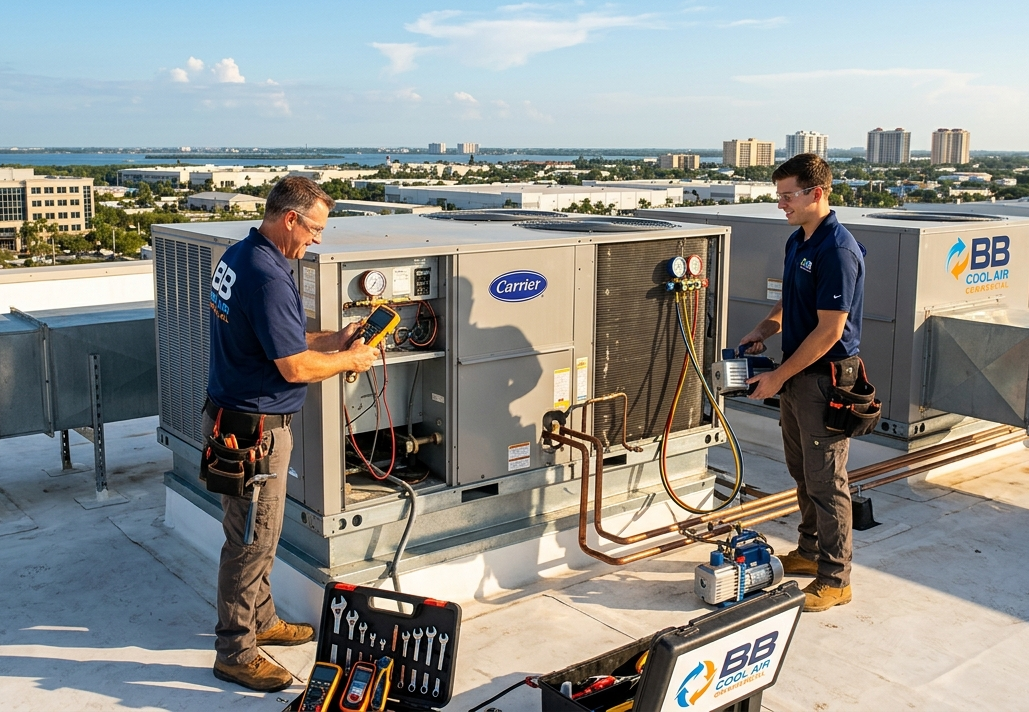
Boost efficiency and protect your inventory with expert commercial HVAC and refrigeration services in Southwest Florida. Contact B&B Cool Air today!
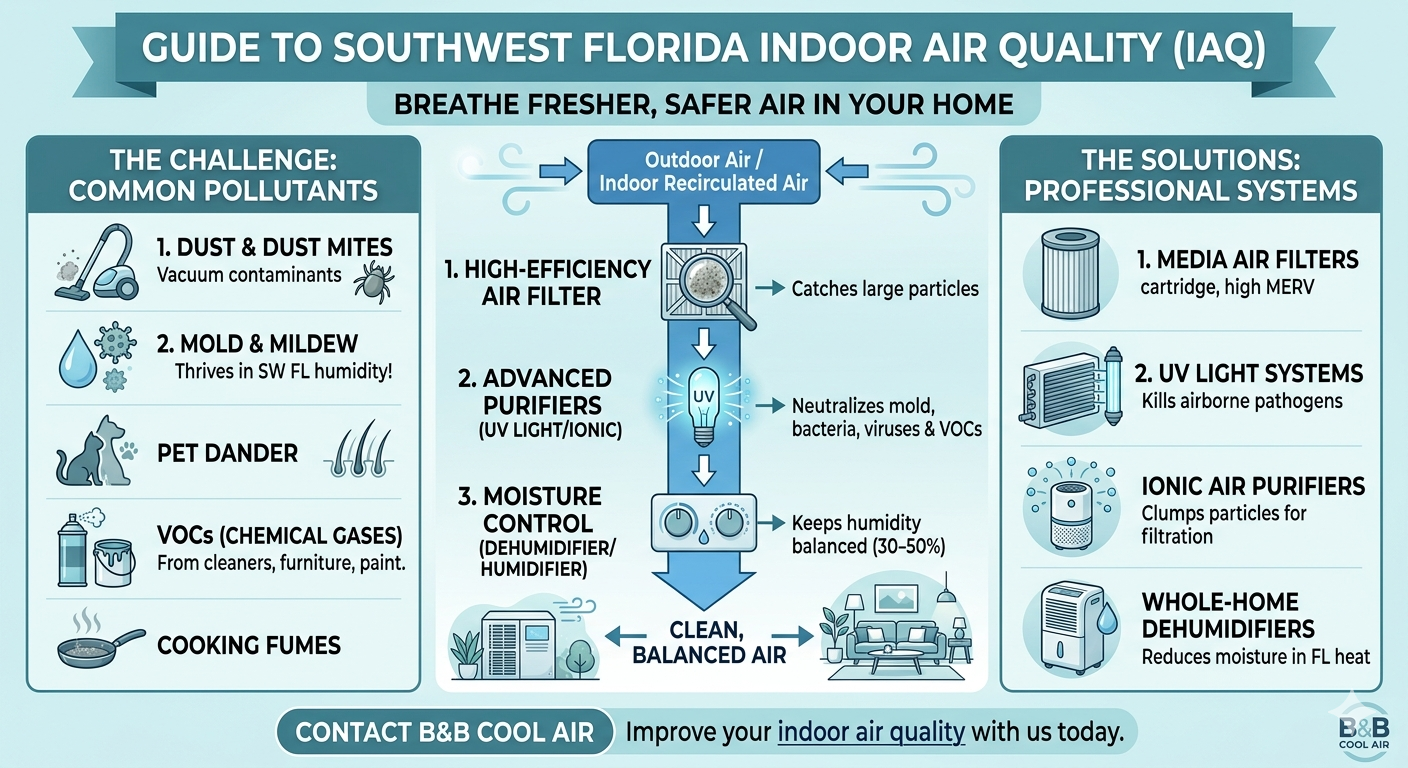
Improve your home's indoor air quality with B&B Cool Air. Discover common Southwest Florida air pollutants and professional HVAC purification solutions today!
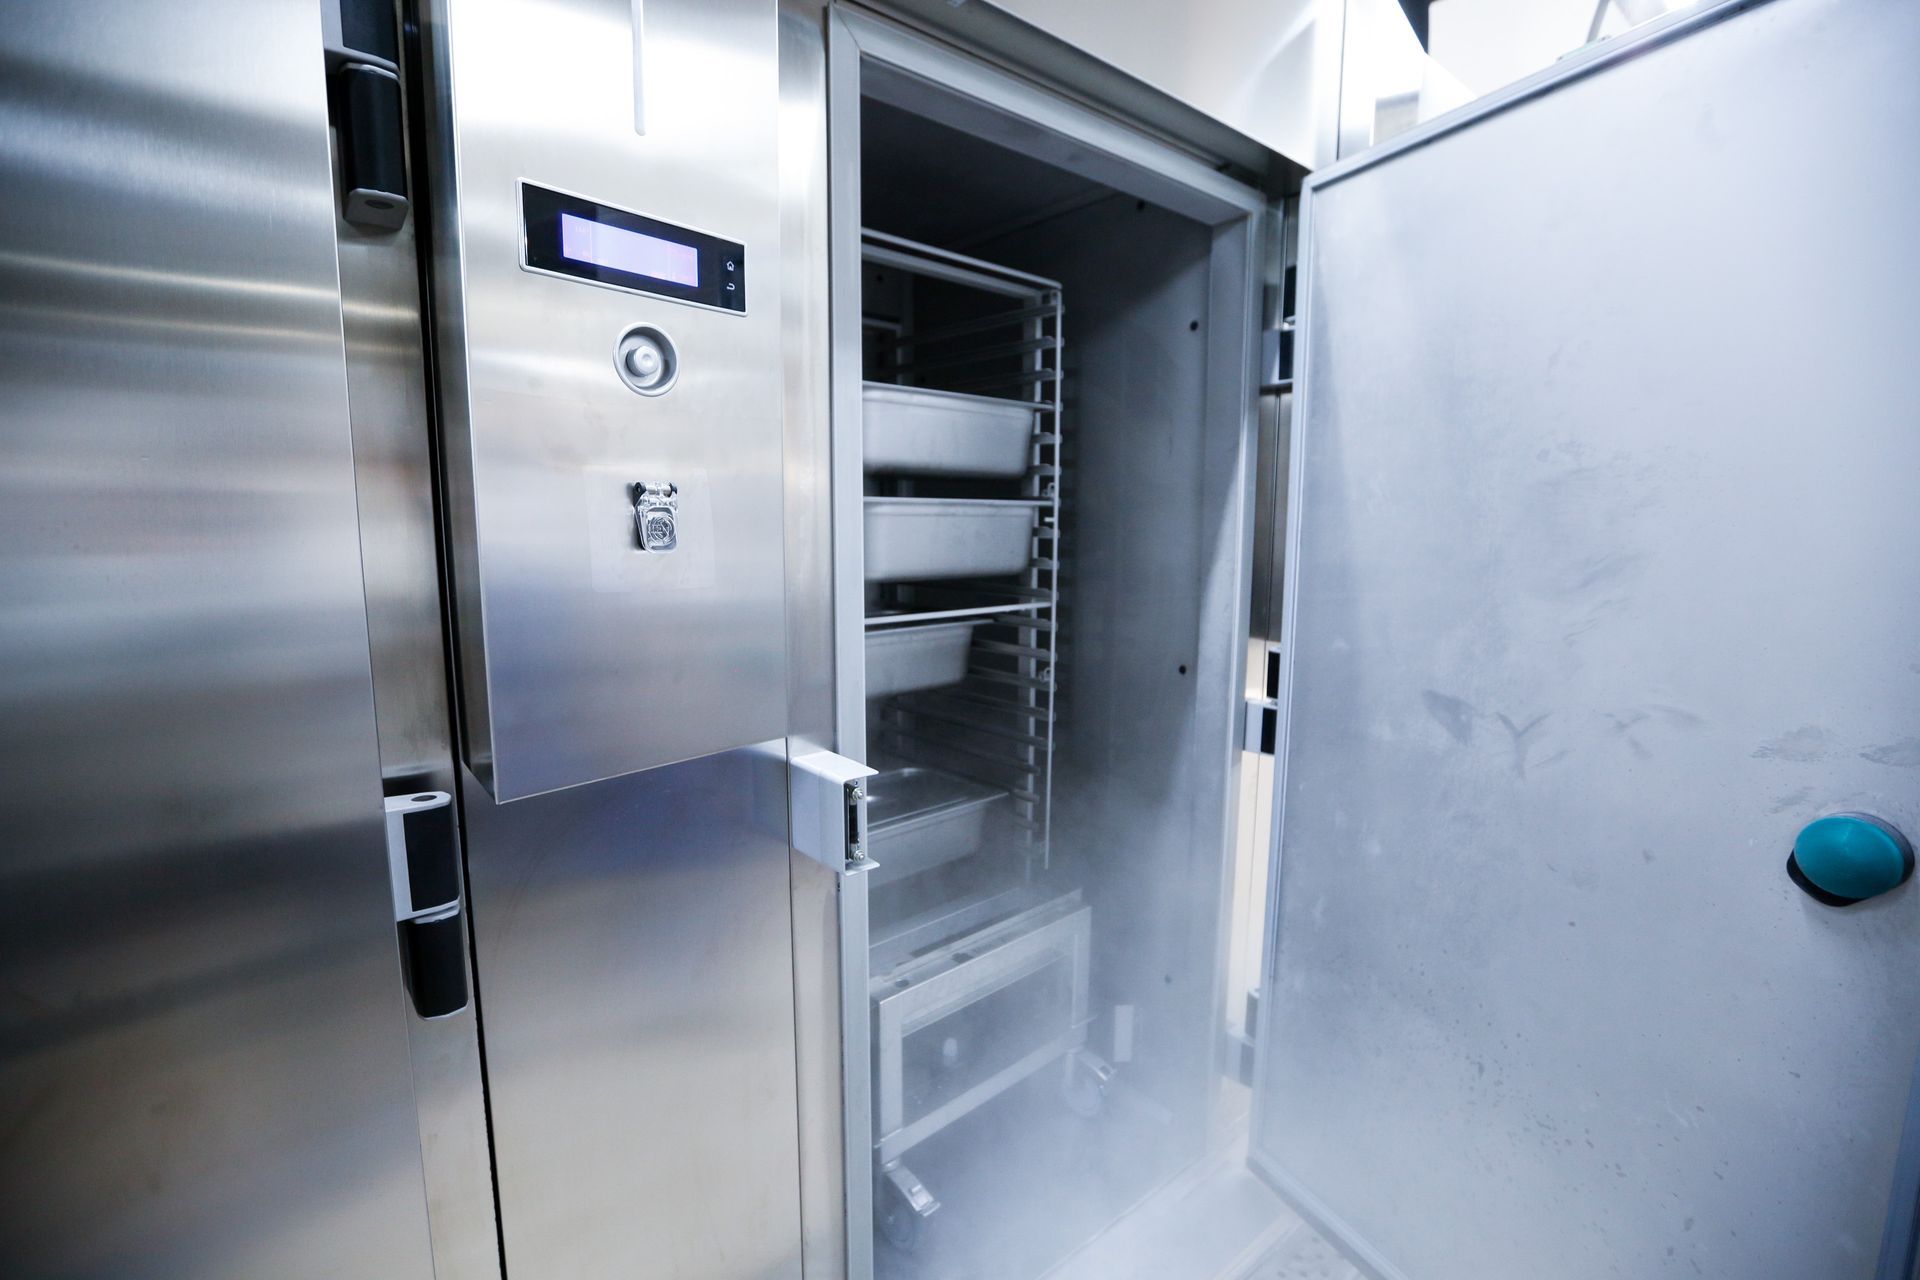
Keep your Lehigh Acres, FL business running smoothly with expert commercial refrigeration repair and maintenance that protects your food inventory and profits.
Discover why heat pumps are the ultimate year-round comfort solution for Southwest Florida. Save money on energy bills and control humidity efficiently.
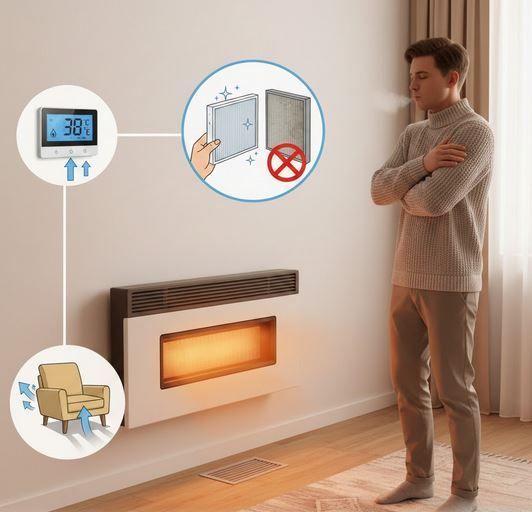
Need a reliable heater for Florida's cold snaps? Discover top heating installation options, energy-saving tips, and professional services from B&B Cool Air.
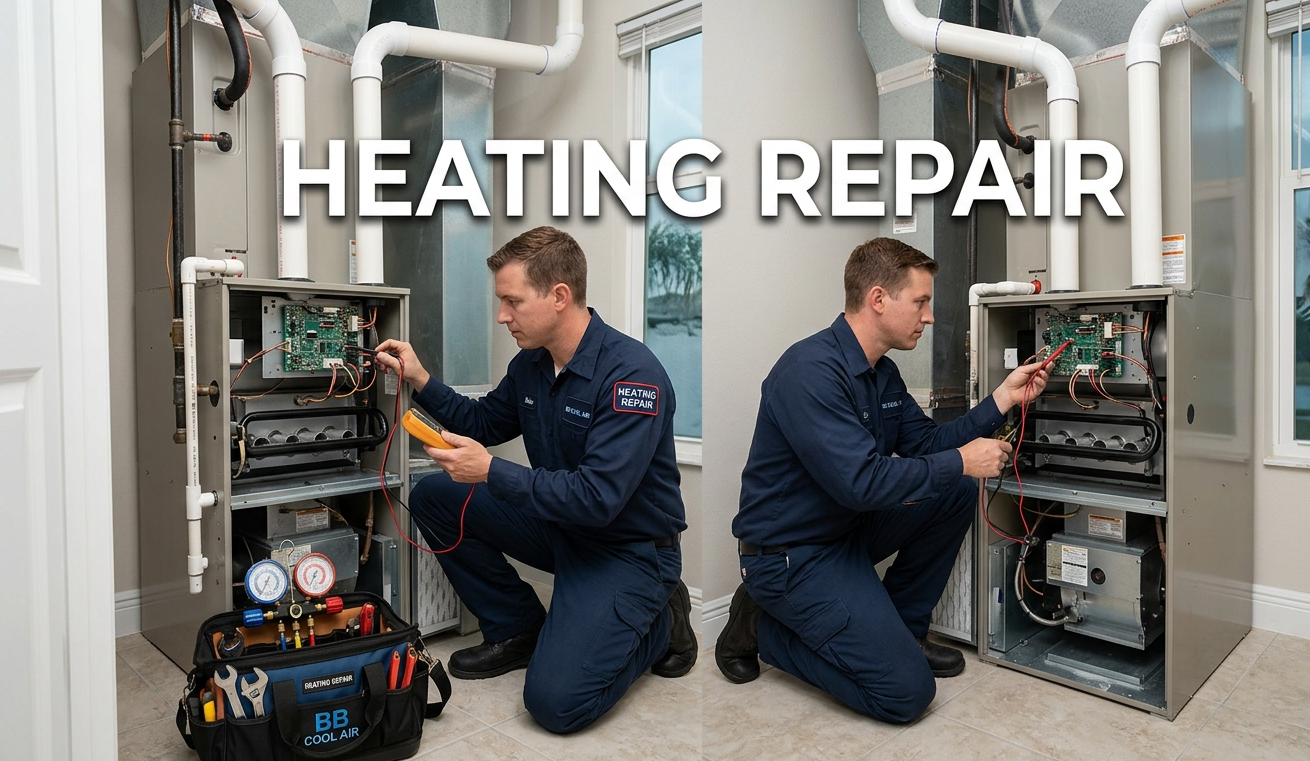
Is your heater blowing cold air? Get reliable heating repair in Melbourne, FL & Brevard County. Call local HVAC experts for fast, honest service today!
Upgrade your home comfort with professional AC installation. Learn about system sizing, energy efficiency, and what to expect during your HVAC installation.
Is your AC blowing warm air or making noise? Learn the top signs you need AC repair, how to lower energy bills, and why professional maintenance is essential.
Looking for expert AC repair in Port St. Lucie, FL? BB Cool Air offers reliable HVAC installation and maintenance across the Treasure Coast. Book your service!
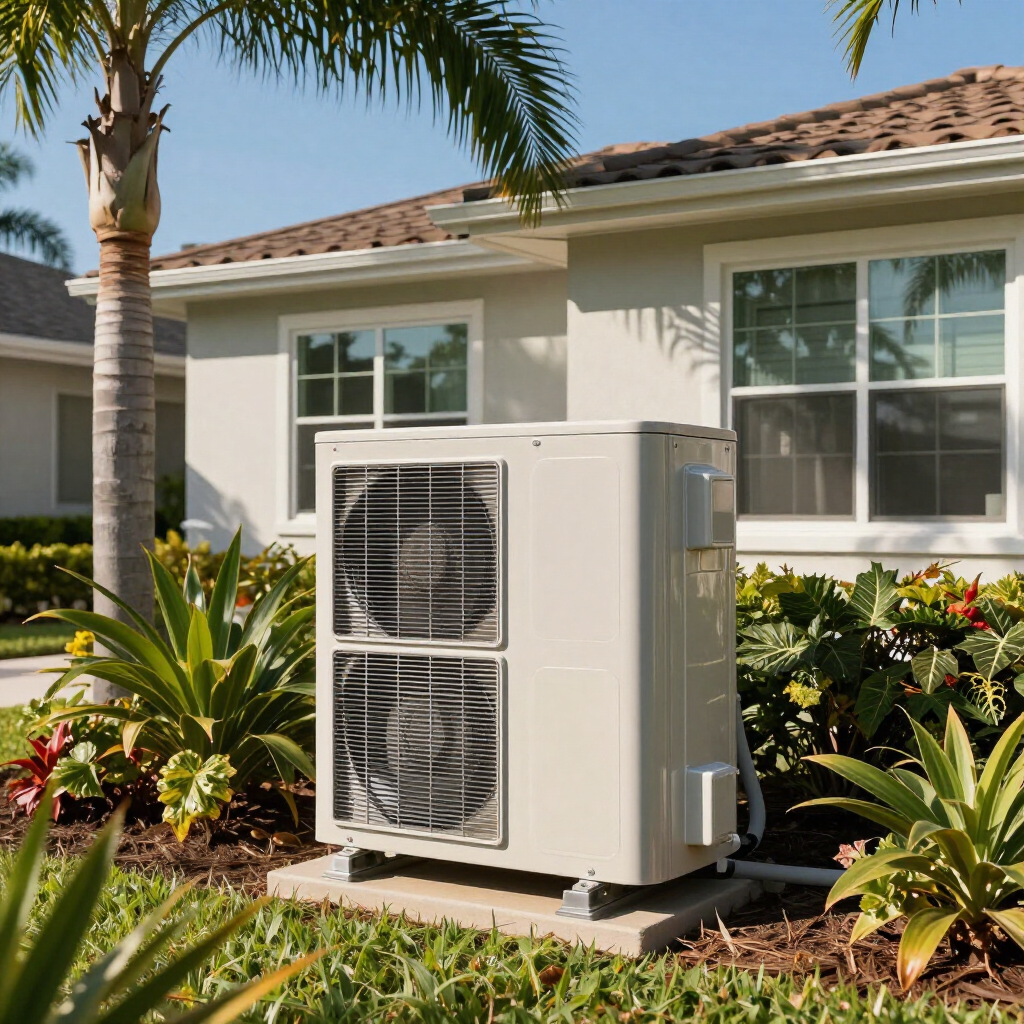
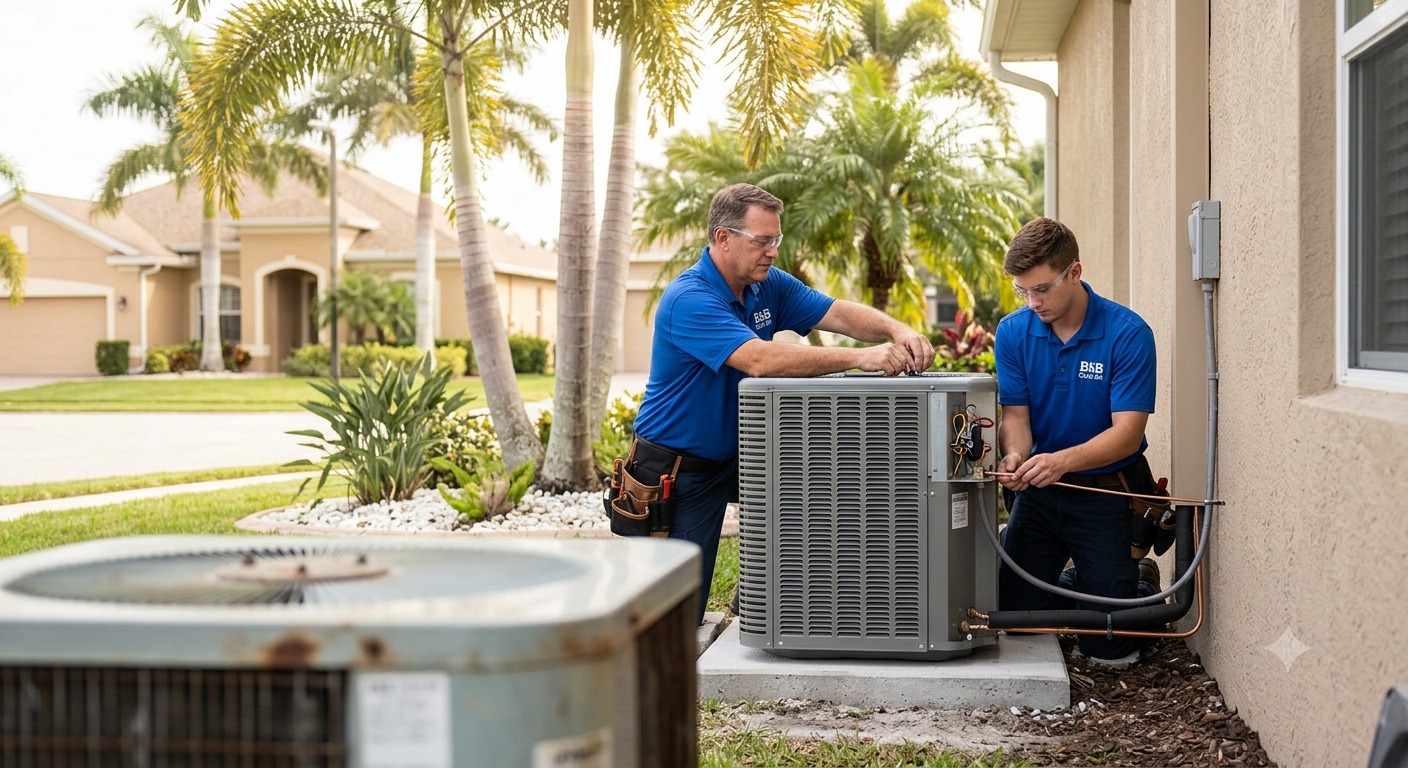
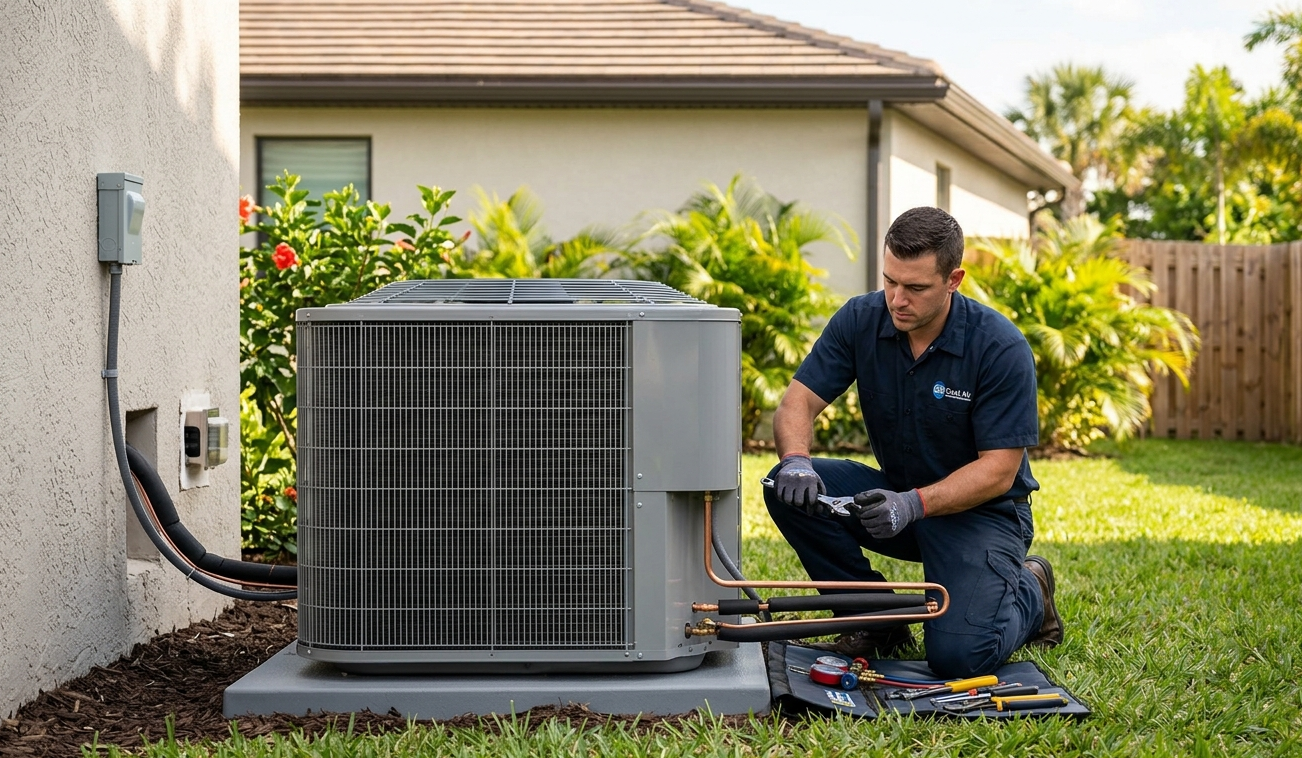
In Southwest Florida, reliable air conditioning isn’t a luxury—it’s how you live, work, and sleep comfortably year-round. That’s why local homeowners and businesses depend on fast, accurate HVAC repair and responsive AC service across Lee County and surrounding communities, including Lehigh Acres and Fort Myers . Whether you need emergency AC repair, seasonal maintenance, a high-efficiency system replacement, heating help for cooler nights, or commercial refrigeration support, our team is ready with straightforward guidance and dependable workmanship. HVAC & Refrigeration Services We Provide Air Conditioning Installation & Replacement If your system is struggling to keep up with Florida heat, cycling constantly, or driving up your utility bills, it may be time to consider an upgrade. B&B Cool Air helps you choose a properly sized, energy-efficient system that matches your home or commercial space. From removing the old equipment to completing the new installation and startup testing, we focus on clean workmanship and dependable performance—so you feel the difference immediately. AC Repair & Maintenance When your AC stops working—or starts blowing warm air—you don’t have time to wait. Our technicians diagnose common issues such as refrigerant leaks, airflow restrictions, frozen coils, electrical failures, and thermostat problems, and then get to work restoring comfort. We also offer routine maintenance to reduce surprise breakdowns, improve efficiency, and extend equipment life (especially important in coastal and high-humidity environments like Fort Myers, Cape Coral, and Sanibel Island). Heating Repair & Installation Southwest Florida winters are mild, but cold snaps can still make your home uncomfortable. If your heater won’t start, short-cycles, or produces uneven temperatures, B&B Cool Air can troubleshoot and repair the problem quickly. If you’re upgrading an older system, we can install modern heating options designed for efficient comfort—helping you stay warm without overpaying for energy. Heat Pumps & Ductless Mini-Splits Heat pumps and ductless mini-splits are popular in Lehigh Acres, Fort Myers, and nearby coastal areas because they provide both cooling and heating in one efficient system. They’re ideal for additions, rooms that never feel quite right, garages, and spaces where extending ductwork is difficult. Our team can recommend the right solution and ensure it’s installed for quiet, consistent, zoned comfort. Ductwork & Indoor Air Quality Comfort isn’t only about temperature—it’s also about airflow and air quality. If certain rooms feel stuffy or warmer than others, ductwork may be leaking, undersized, or poorly balanced. We provide ductwork services to support proper airflow, plus indoor air quality solutions that help manage humidity and airborne particles—key factors for a fresher, healthier-feeling home in the Florida climate. Commercial Refrigeration For restaurants, markets, convenience stores, and other businesses, refrigeration isn’t optional—it’s the backbone of daily operations. B&B Cool Air provides commercial refrigeration installation, maintenance, and repairs for equipment such as walk-in coolers and freezers, ice machines, and related systems. When something fails, quick response can protect inventory and keep your business running. Proudly Serving Lehigh Acres, Fort Myers & Southwest Florida B&B Cool Air has served Southwest Florida since 1970, operating throughout a wide service area across Lee County and beyond. We regularly provide HVAC service in Lehigh Acres, Fort Myers, Cape Coral, and nearby communities—so you can get local help from a team that understands the climate, the construction styles, and the comfort challenges unique to this region. Our Southwest Florida service area includes (and is not limited to): Lehigh Acres, FL Fort Myers, FL Cape Coral, FL Marco Island, FL Sanibel Island, FL Pine Island, FL Buckingham, FL Gateway, FL Cypress Lake, FL Iona, FL Pine Manor, FL Suncoast Estates, FL And many more communities across Southwest Florida Why Homeowners and Businesses Choose B&B Cool Air When you call for HVAC help, you want more than a quick fix—you want a long-term solution from people you can trust. With over 50 years serving Southwest Florida, B&B Cool Air brings experienced, certified technicians, clear communication, and workmanship designed to last. We’re available 24 hours to schedule service, and we offer financing options so you can make smart comfort decisions without unnecessary stress. Need HVAC or commercial refrigeration service in Lehigh Acres, Fort Myers, or anywhere in Southwest Florida? Contact B&B Cool Air to schedule AC repair, maintenance, or a new installation. Call 239-426-8198 to get started and let our team help you stay comfortable—season after season.