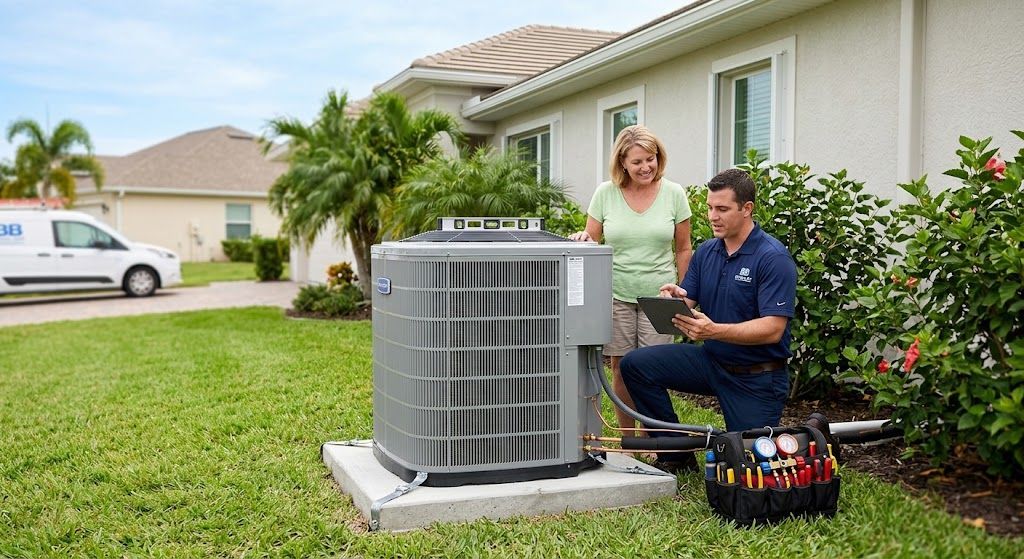
Planning a Lehigh Acres HVAC install? Follow our 8-step guide on sizing, ductwork, and installation to keep your Southwest Florida home cool and efficient.
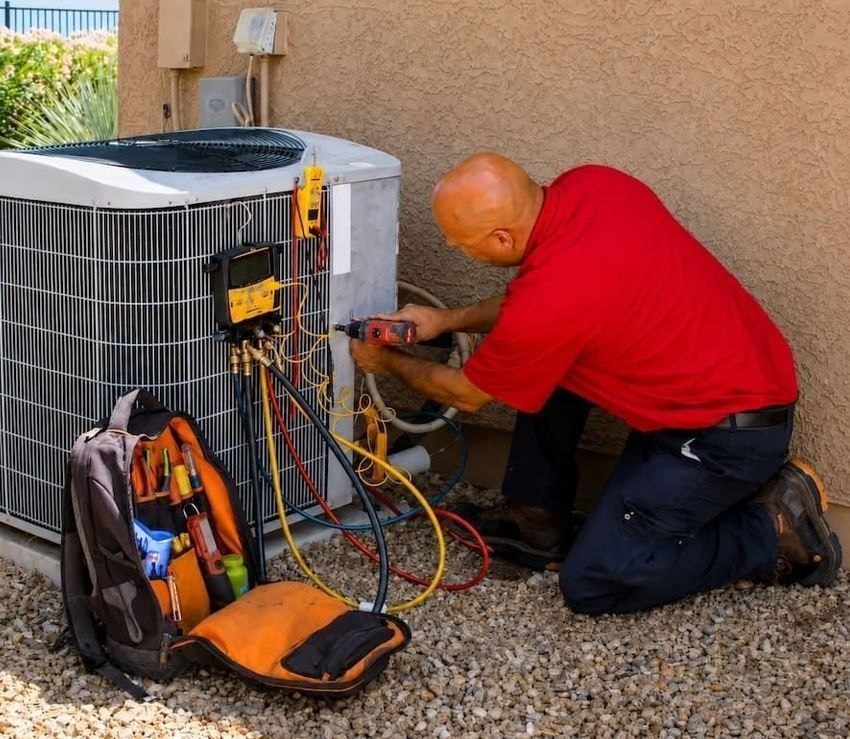
Learn essential air conditioning repair troubleshooting steps, common warning signs, and expert tips to keep your cooling system running smoothly all summer.
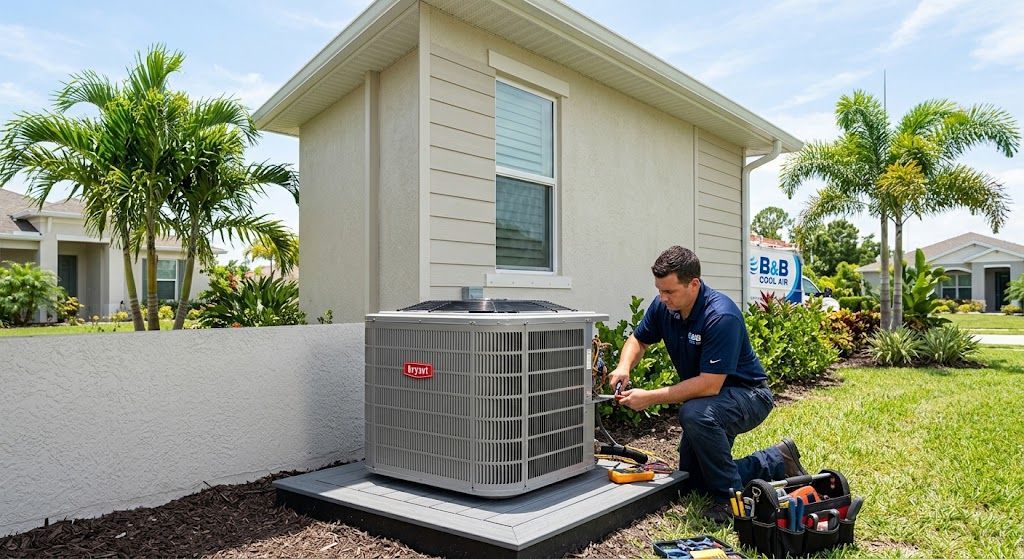
Planning a Lehigh Acres AC install? Learn about system sizing, SEER2 ratings, and costs to ensure long-term comfort with B&B Cool Air's expert team in Florida.
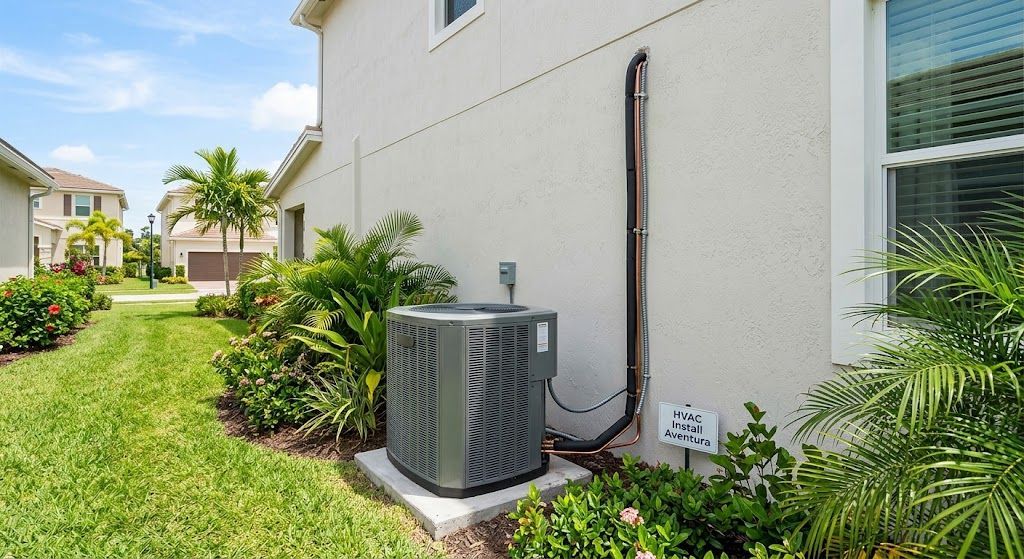
Planning a new HVAC install? Learn how to choose the right system, perform load calculations, avoid costly sizing errors, and maximize efficiency for success.
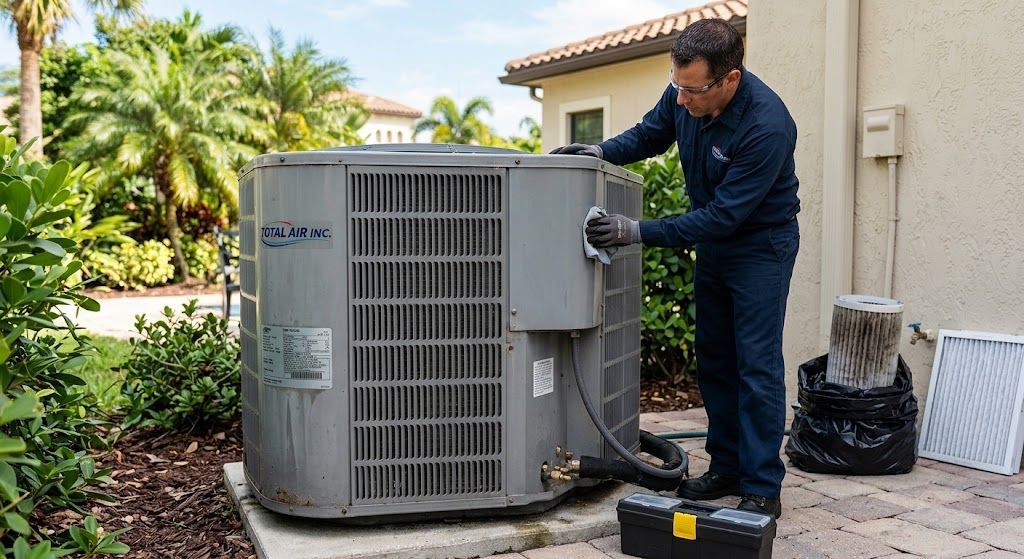
Learn essential HVAC repair tips, basic maintenance, and troubleshooting steps to keep your heating and cooling system running efficiently year-round.
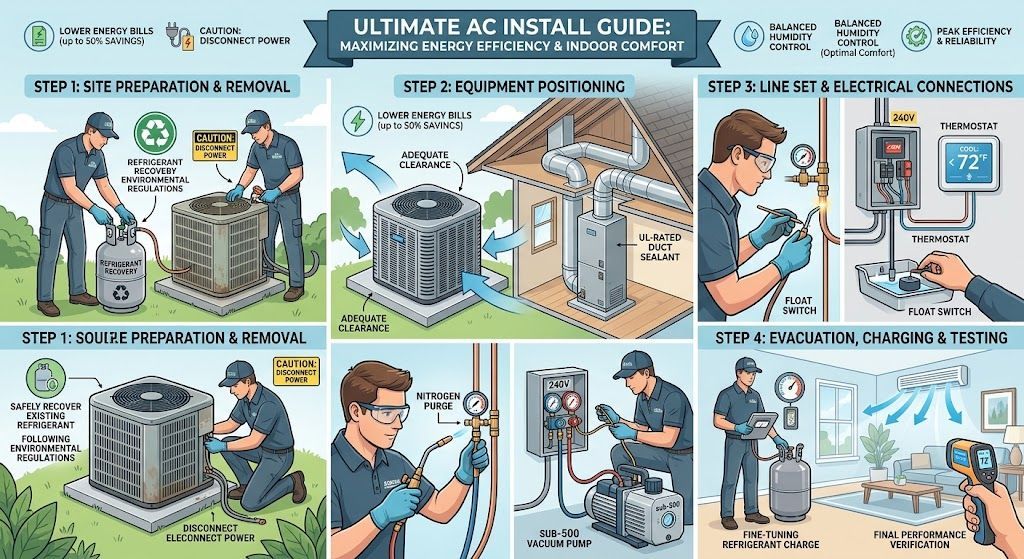
Learn how to maximize home comfort and lower energy bills with our complete AC installation guide. Discover sizing tips, SEER2 ratings, and expert advice!
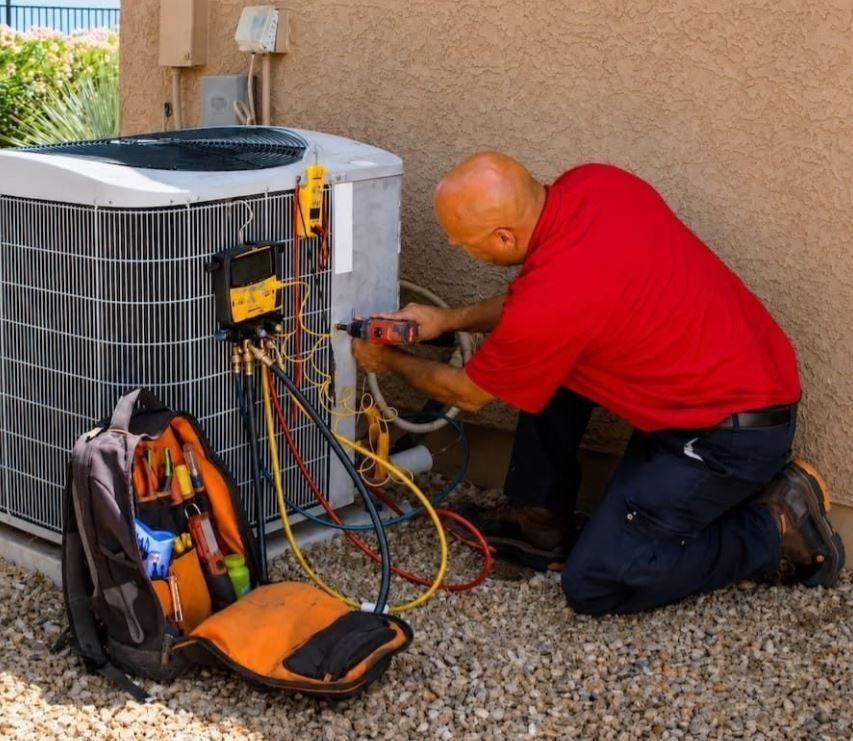
Need reliable Lehigh Acres AC repair? Learn common cooling issues, emergency warning signs, and expert tips to keep your air conditioner running efficiently.
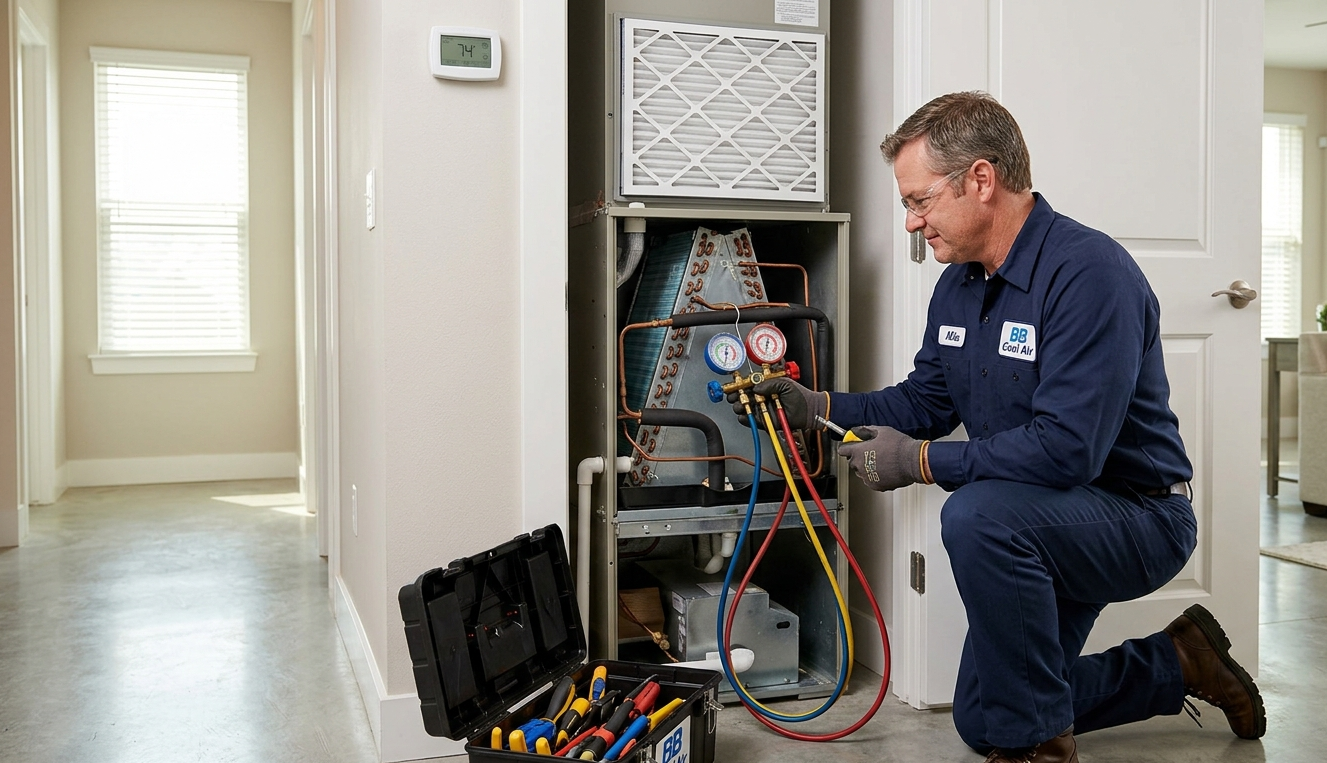
When temperatures spike, a well-functioning air conditioner transitions from a simple household luxury to an absolute necessity. Mid-summer cooling system failures can quickly convert a comfortable living space into an unbearable heat sink, putting stress on your family’s health and indoor air quality. Understanding how your cooling system operates, identifying early signs of component failure, and knowing when to call a professional technician are essential steps for every homeowner. This comprehensive guide covers everything you need to know about air conditioner performance, common failure points, professional diagnostic processes, and preventative routine maintenance. 1. Unmistakable Signs Your Home Needs Immediate AC Repair Air conditioners rarely breakdown without warning. Modern cooling systems usually display minor performance issues before a complete mechanical shutdown occurs. Recognizing these warning signs early can save you thousands of dollars in major component replacements. Warm Air Flowing From Vents If your system is running continuously but blowing lukewarm or ambient air, several underlying issues could be responsible: Refrigerant Leaks: Low refrigerant levels prevent the evaporator coil from absorbing heat effectively from your indoor air. Dirty Evaporator Coils: Dirt build-up acts as an insulator, blocking thermal transfer between the air and the cooling coil. Compressor Strain: A failing or burned-out compressor cannot pressurize the refrigerant required to start the cooling process. Weak or Restrictive Airflow Insufficient airflow throughout your home indicates that air is not circulating efficiently through your ductwork system. This issue is frequently caused by a clogged high-efficiency particulate air (HEPA) filter, a failing blower motor, or physical obstructions within the supply ducts. Strange Noises and Unpleasant Odors A healthy air conditioning system operates with a subtle, predictable hum. Sudden, jarring sounds usually signal mechanical distress: Grinding or Squealing: Indicates worn-out motor bearings or a slipping fan belt that requires immediate replacement. Clanging or Rattling: Often points to a loose component inside the compressor assembly or a damaged fan blade. Musty or Burning Smells: A damp, moldy smell suggests fungal growth in the drain pan or coils, while a burning metallic odor usually signals electrical overheating or a short circuit. 2. Common Causes of Air Conditioning Failures Understanding why air conditioning systems break down helps homeowners implement better operational habits and prevent unexpected service calls. +-------------------------------------------------------------------+ | COMMON AC FAILURE COMPONENT CAUSES | +-------------------------------------------------------------------+ | 1. Refrigerant Leaks -> Chemical corrosion in copper lines | | 2. Electrical Failure -> Capacitor burnouts, contactor pitting | | 3. Frozen Evaporator -> Restricted airflow, low refrigerant | | 4. Clogged Condensate -> Water backing up, safety trip switch | +-------------------------------------------------------------------+ Refrigerant Leaks Refrigerant is the vital fluid that carries heat out of your home. Over time, formicary corrosion can form microscopic holes in copper tubing, letting refrigerant escape into the environment. Because cooling systems are closed loops, low refrigerant always points to a leak rather than normal chemical consumption. Electrical Component Wear An air conditioner's electrical system endures significant stress, especially during the high-demand summer months. Frequent thermal cycling wears down start capacitors, run capacitors, and contactor switches. When a capacitor fails, the compressor and outdoor fan motor cannot draw the electrical power required to start up. Clogged Condensate Drain Lines As warm air passes over the icy cold evaporator coil, moisture condenses out of the air and collects in a drain pan. This water flows away through a plastic condensate line. Over time, algae, mold, and dust can build up inside the pipe, creating a blockage. Without proper drainage, water backs up into your home, causing water damage or triggering safety switches that shut off the entire unit. 3. Step-by-Step Diagnostic Routine Before Calling a Technician Before scheduling a service visit, perform a quick initial assessment. Minor operating issues can sometimes be resolved with simple home maintenance checks. Check Thermostat Settings Ensure your thermostat is set to "Cool" and the target temperature is set at least 3 to 5 degrees below the current room temperature. If the display screen is completely blank, replace the internal AA batteries or check your home's main electrical panel for a tripped circuit breaker. Inspect and Replace the Air Filter A heavily clogged air filter restricts airflow across the evaporator coil, dropping internal temperatures until ice forms over the copper lines. Replace dirty disposable air filters immediately and wait for any ice on the lines to melt completely before restarting the unit. Inspect the Outdoor Condenser Unit Clear away fallen leaves, weeds, lawn debris, and outdoor furniture from around the exterior unit. The outdoor condenser coil requires at least two feet of clear space on all sides to exhaust heat effectively into the surrounding air. 4. Professional AC Repair vs. System Replacement Deciding whether to repair an aging cooling unit or invest in a modern replacement is one of the biggest financial decisions a homeowner faces. HVAC technicians use several industry standards to guide this decision. The $5,000 Rule Multiply the age of your air conditioner (in years) by the total estimated repair cost in dollars. If the total calculation exceeds $5,000, replacing the system is usually the most cost-effective long-term choice. Example A: A 4-year-old system needing a $400 repair equals 1,600. Recommendation: Proceed with the repair. Example B: A 12-year-old system needing an $800 repair equals 9,600. Recommendation: Upgrade to a new system. Energy Efficiency Considerations Older cooling systems operate on lower Seasonal Energy Efficiency Ratio (SEER) ratings, often between 10 and 13 SEER. Modern high-efficiency systems feature SEER2 ratings ranging from 16 to over 22. Upgrading to a modern unit can reduce summer cooling bills by up to 30% to 50%, helping offset the initial cost of replacement over time. 5. Preventative Maintenance and Longevity Strategies The best way to avoid unexpected summer breakdowns is through consistent, proactive preventive maintenance. Scheduling annual tune-ups keeps your equipment running smoothly and extends its working lifespan. Spring Preventative Maintenance Checklist Clean the Outdoor Coils: Gently hose off dust, pollen, and debris from the condenser fins using a garden hose (avoid high-pressure power washers, which can bend delicate aluminum fins). Clear the Drain Line: Flush a cup of warm water mixed with white vinegar down the condensate drain line to prevent algae buildup. Inspect Electrical Wiring: Check outdoor wiring harnesses for cracked insulation, loose connections, or rodent damage. Schedule Professional Servicing: Book a certified HVAC technician every spring to inspect refrigerant charge levels, test motor amperages, and recalibrate system sensors. Proper installation and expert maintenance ensure your system stays energy efficient during seasonal weather extremes. For comprehensive residential cooling evaluations, system diagnostics, and fast emergency service, visit BB Cool Air for reliable AC Repair solutions tailored to your home's specific requirements. References U.S. Department of Energy (DOE): Maintaining Your Air Conditioner. Detailed guidance on filter management, coil cleaning, and professional maintenance schedules for residential central cooling systems. Environmental Protection Agency (EPA): Section 608 Stationary Equipment Safety & Leak Repair Regulations. Federal guidelines governing refrigerant management, leak rate rules, and environmental protection protocols during repairs. American Society of Heating, Refrigerating and Air-Conditioning Engineers (ASHRAE): Standard 180-2018: Standard Practice for Inspection and Maintenance of Commercial and Residential Building HVAC Systems. Industry standards for systematic inspection and preventative servicing protocols. Air Conditioning Contractors of America (ACCA): Standard 4: Maintenance of Residential HVAC Systems. Technical requirements and operational checklists for professional field maintenance procedures. ENERGY STAR Program: Central Air Conditioner Buyer's Guide & Efficiency Ratings (SEER2). Energy performance recommendations, seasonal efficiency metrics, and cost-saving guidelines for residential cooling replacements.
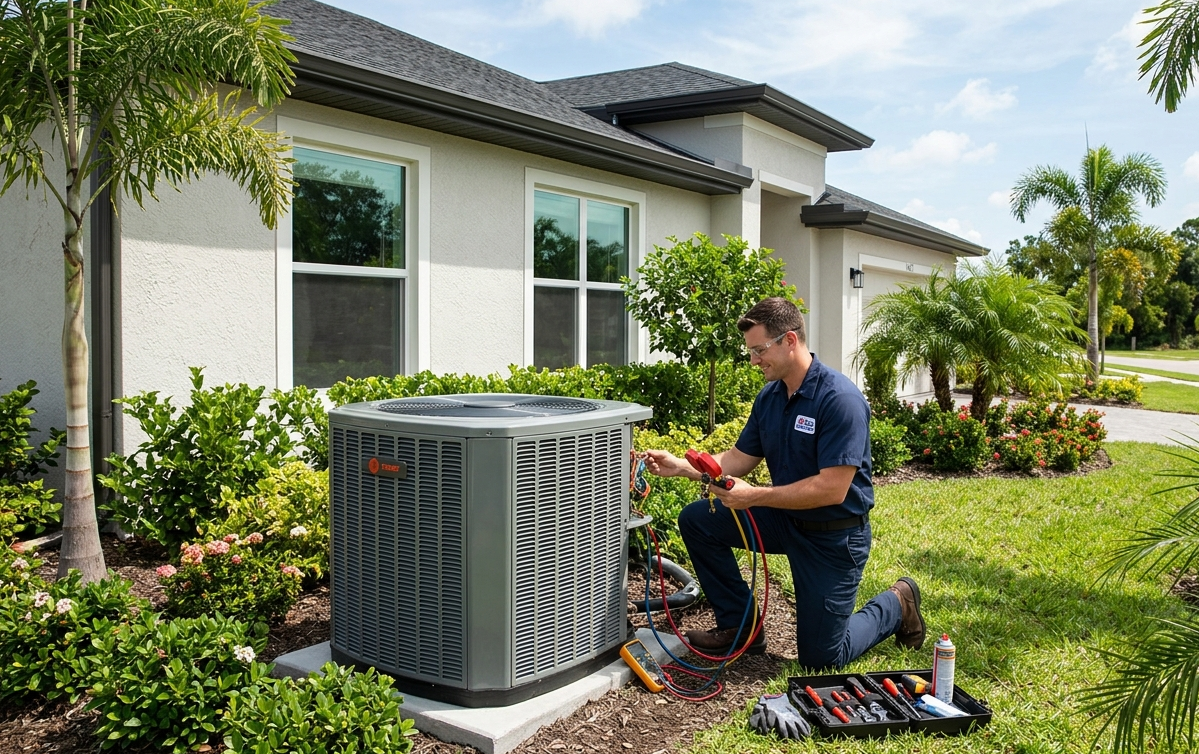
Discover reliable Lehigh Acres HVAC services. Learn expert cooling, heating, and air quality solutions to keep your SW Florida home comfortable year-round.
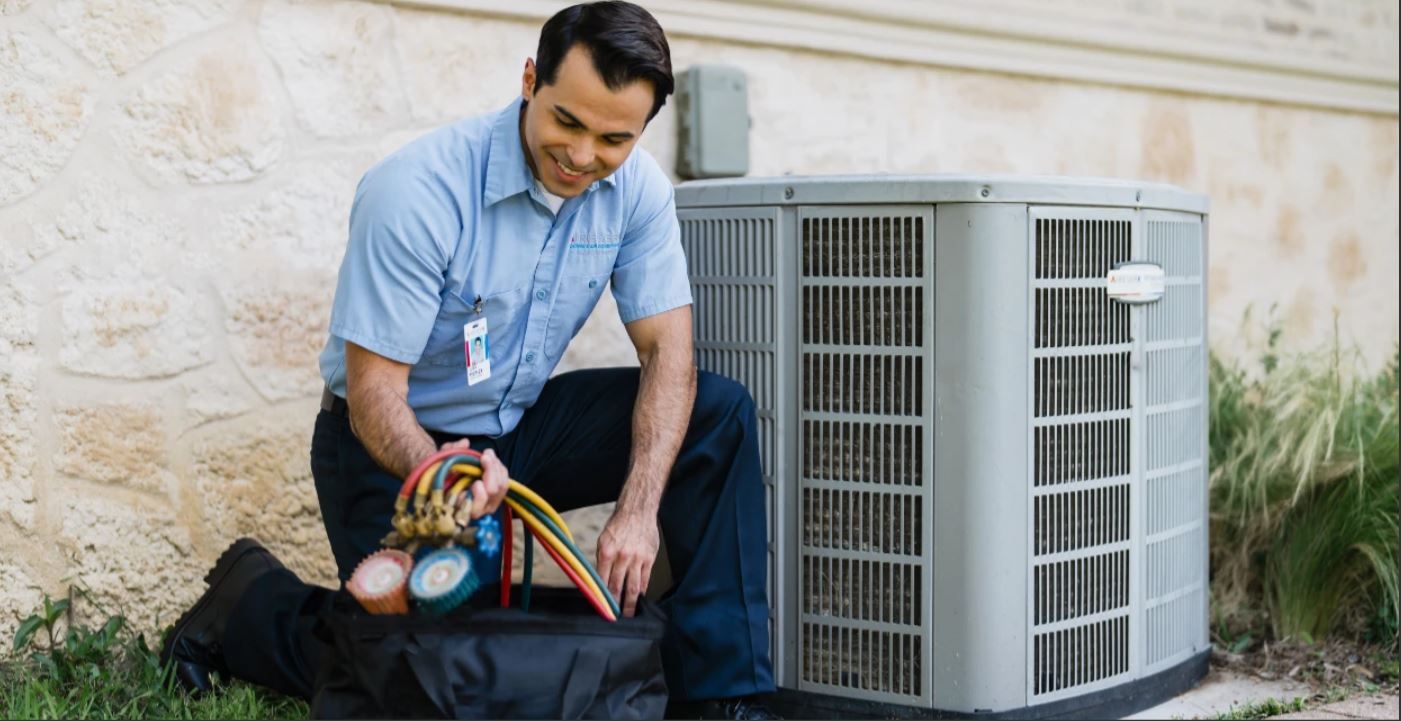
Keep your home comfortable year-round with our guide on professional HVAC service, preventive maintenance tips, and energy-saving heating and cooling advice.